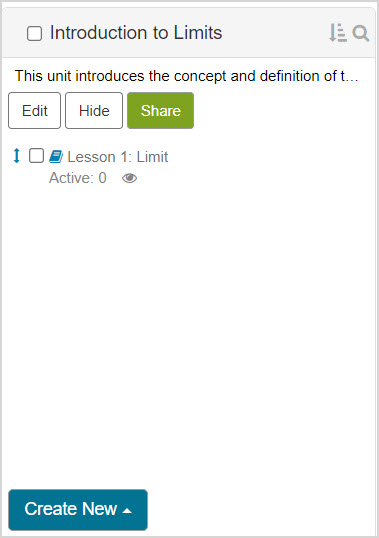
Organize units
Activities (lessons and assignments) are organized into units.
Units are identified in the Content Repository by the units icon![]() .
.
NOTE:Units and question groups share the same icon![]() .
.
In order for an activity to be visible to students on the Class Homepage, it must be tagged as visible in the Content Repository and be contained within a unit.
For your units to be visible to students on the Class Homepage, the unit must contain at least one activity that's tagged as visible.
TIP: Check out Control activity visibility to manage which activities within a unit are tagged as hidden or visible to students on the Class Homepage.
NOTE: The sequential order of units within the Content Repository is reflected on the Class Homepage and Class Schedule. Check out Reorder content.
NOTE: If you don't create any units, all of your activities are automatically contained in the Default Unit.
Creating a new unit
To create a new unit that stores your activities in the Content Repository:
Navigate to the Current Class source in the Sources pane of the Content Repository.
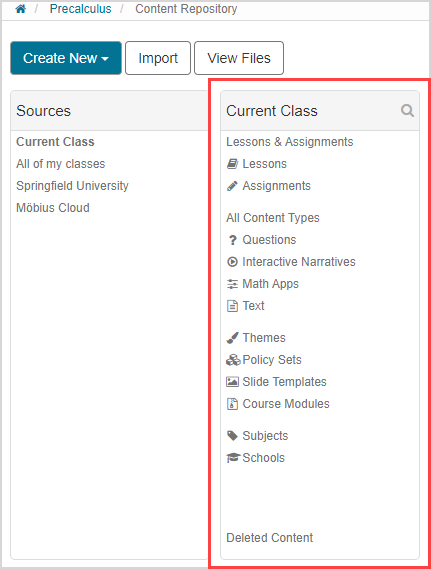
NOTE: You can only create new units in your Current Class source.
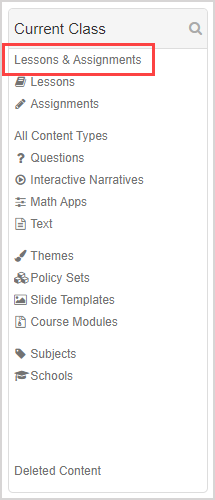
Click Lessons & Assignments in the selected source pane.
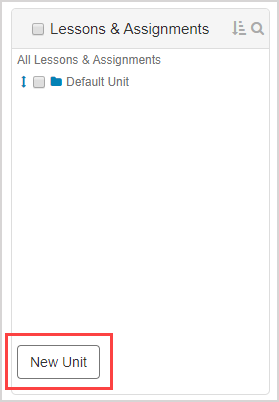
Click New Unit.
Define a name for your new unit.

Click Add Unit.

Your new unit is listed in the Lessons & Assignments pane.
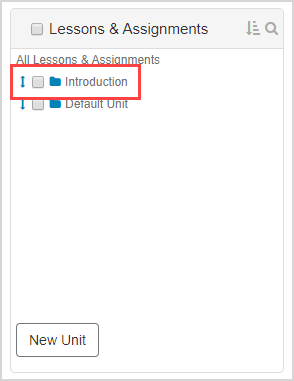
You can now create new activities within your new unit.
TIP: You an also move existing activities into your new unit. Check out Relocate content.
Editing a unit
To edit the name and description of an existing unit:
Click Lessons & Assignments in the Current Class pane.

Click the name of the unit you wish to edit.

Click Edit in the pane of the selected unit.
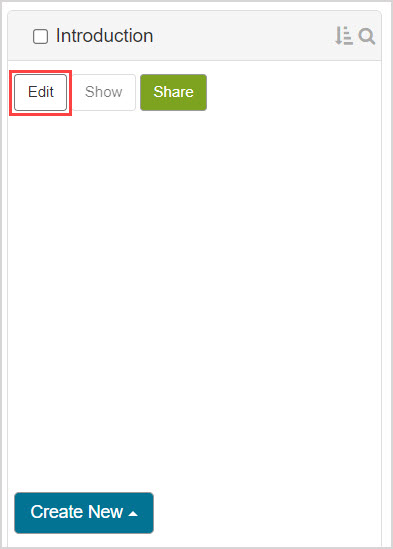
Update the Name, Short Name and Description in the Edit Unit dialog.
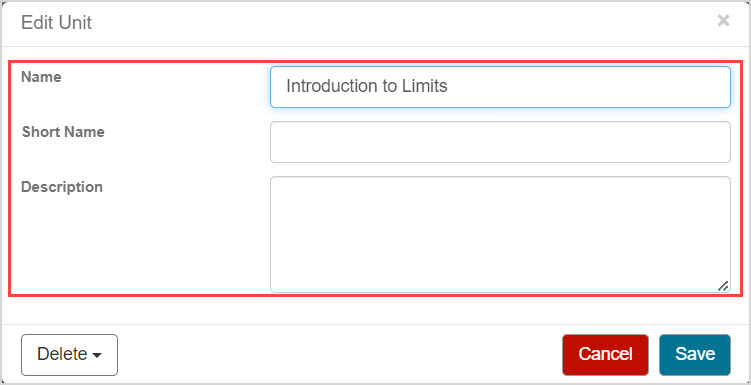
NOTE: The Name of the unit appears on the Class Homepage and in lists in the Content Repository. The Short Name is an optional field for a shorter name, to be used in the Content Repository when space is limited.
NOTE: The Description of the unit is visible to students on the Class Homepage when the unit is selected.

Click Save.
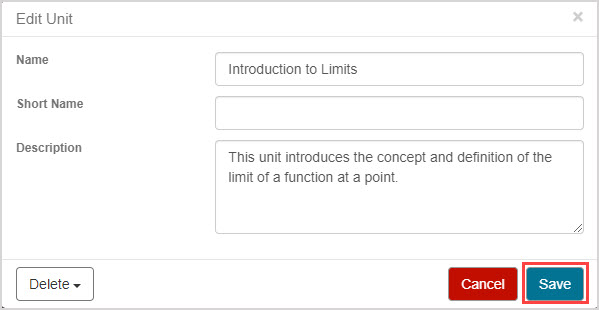
Changes are reflected in the pane of the edited unit.
