Create an account
You can create your own Möbius account through self-registration from your organization's main login page.
Self-registration — A setting that allows users to create their own Möbius account.
You'll receive the student role for your system role when you self-register.
NOTE:Self-registration has to be enabled by your organization's Möbius administrator in order for you to create your own Möbius account. If the Create an account link isn't visible on your organization’s main log in page, you won't be able to self-register and your instructor or organization's Möbius administrator will have to create your Möbius account for you.
To create a Möbius account
To create your own Möbius account through self-registration:
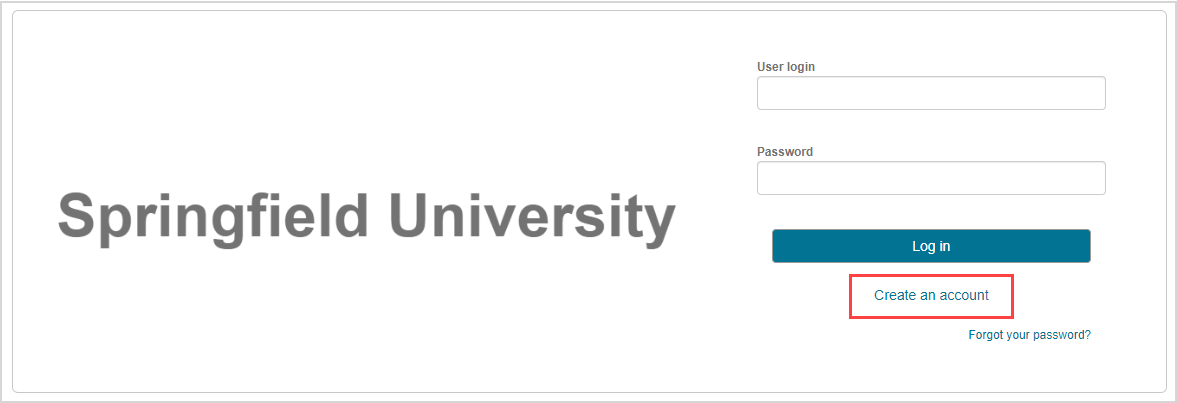
Click Create an account on the Möbius log in screen of your organization.

NOTE: Your organization could be an institution, a publisher name, a textbook title, or an author name. All users from your organization will use the same log in screen.
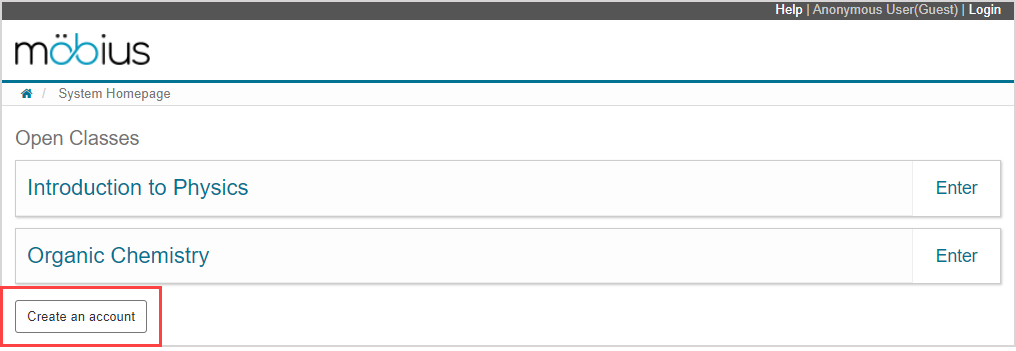
TIP: If you're accessing Möbius as an anonymous user, you can instead click Create an account on the anonymous access System Homepage and resume at step 2.
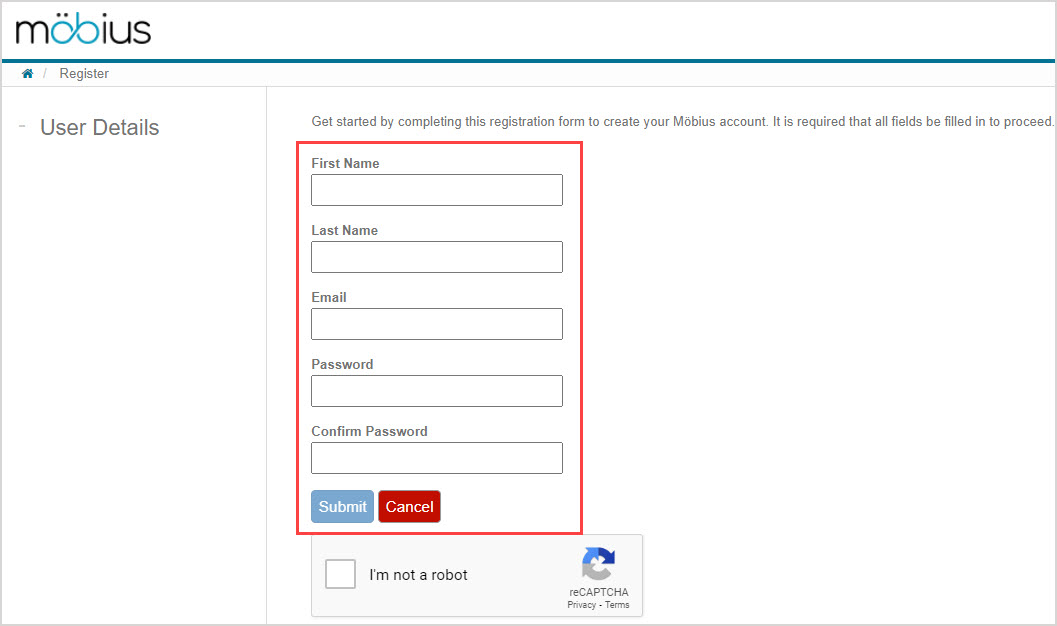
Complete all fields in the User Details pane of the Register page.
IMPORTANT: You must enter a valid email address when creating your Möbius account.
TIP: Your case-sensitive password should:
- Be at least five characters long
- Include both capital letters and lower case letters
- Contain at least one special character (1-9, !, *, _, etc)
- NOT include a word in the dictionary
- NOT include accented characters (ö, é, etc)
NOTE: All fields that appear on the Register page are considered required fields.
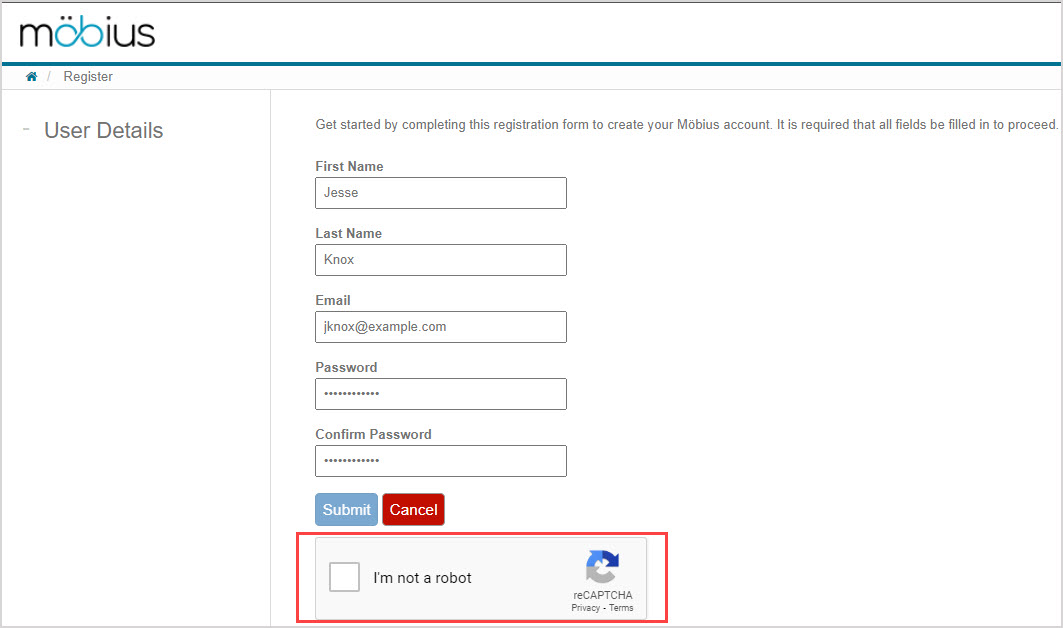
Complete the reCAPTCHA requirement.
Click Submit.
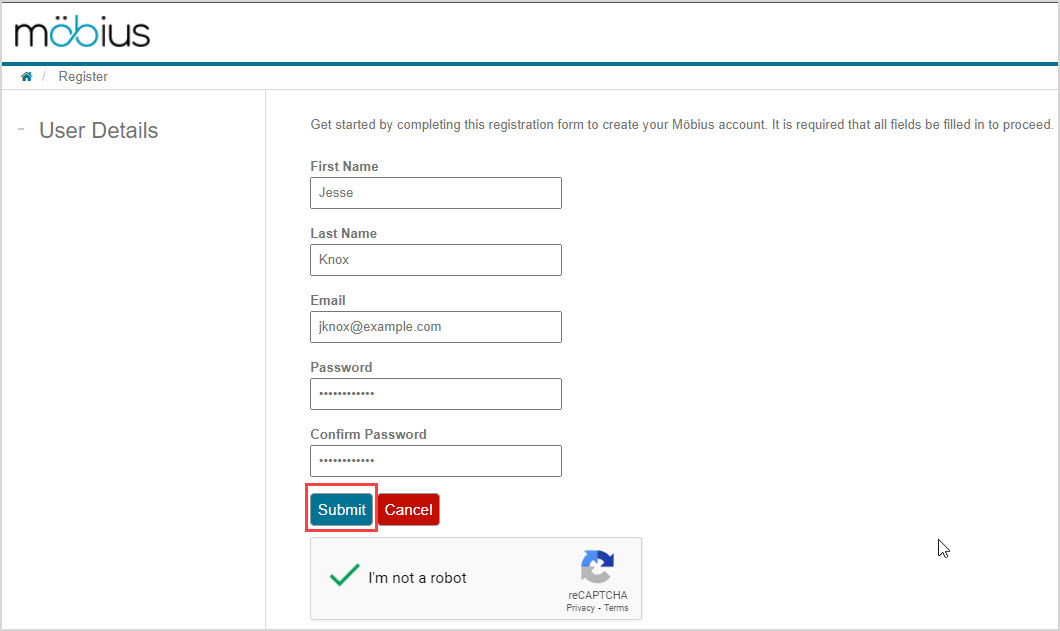
NOTE: Sometimes, a database or mail server error can occur. If this happens, you'll receive an error message asking you to retry your self-registration at a later time.

A success message is displayed stating that a confirmation link has been sent to your submitted email.
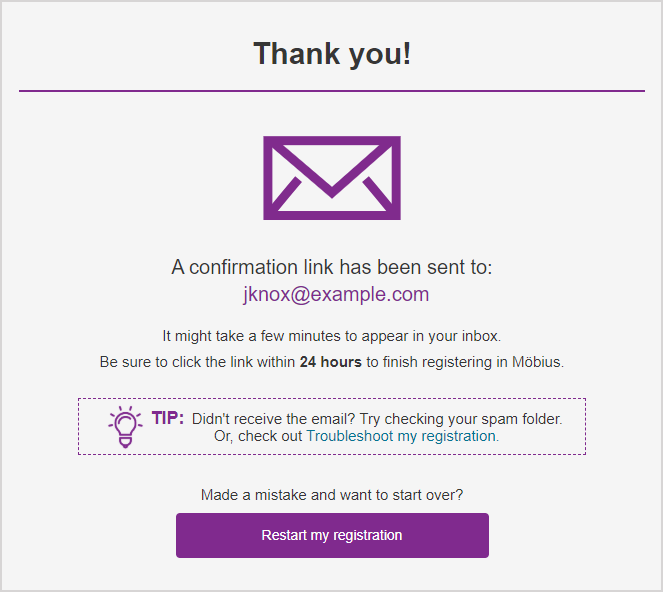
TIP: Click Restart my registration in the success message if you've made a mistake in your account creation and want to start over.

Check your inbox for an email with the subject of Request for Möbius account. This verification email message contains a confirmation link for you to use to complete the Möbius registration process. Click Confirm email in the received verification email message to continue with your registration.
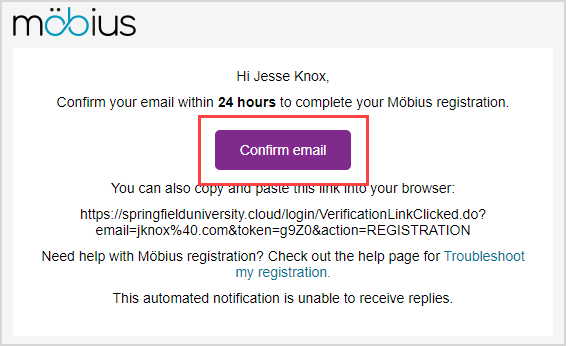
IMPORTANT: The confirmation link expires 24 hours after the registration process is initiated.
NOTE: The verification email message might take a few minutes to appear in your inbox. Try checking your spam folder if you think you didn't receive it.
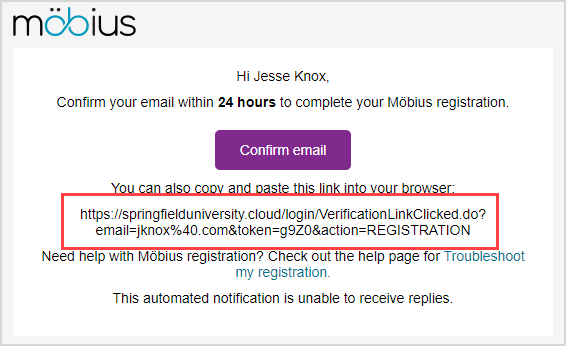
TIP: Alternatively, a confirmation URL is provided that you can copy and paste into your browser instead of clicking the Confirm email button.
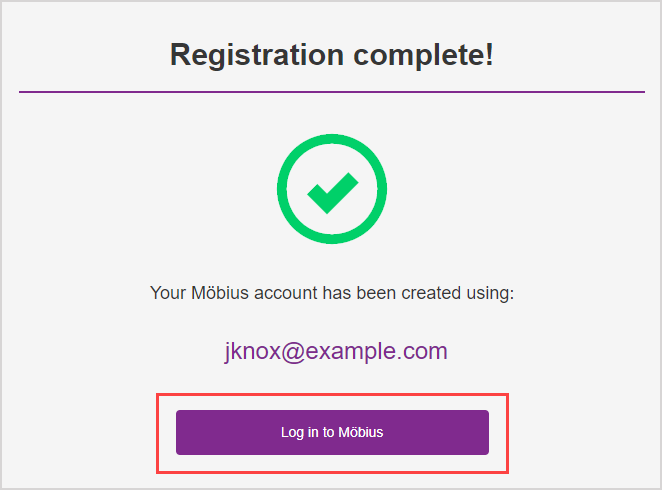
Your account has been created and your registration is complete. Click Log in to Möbius to return to the main log in screen to enter Möbius.
Your submitted email autofills in the Email or user login field. Enter your password that you defined during the registration process.
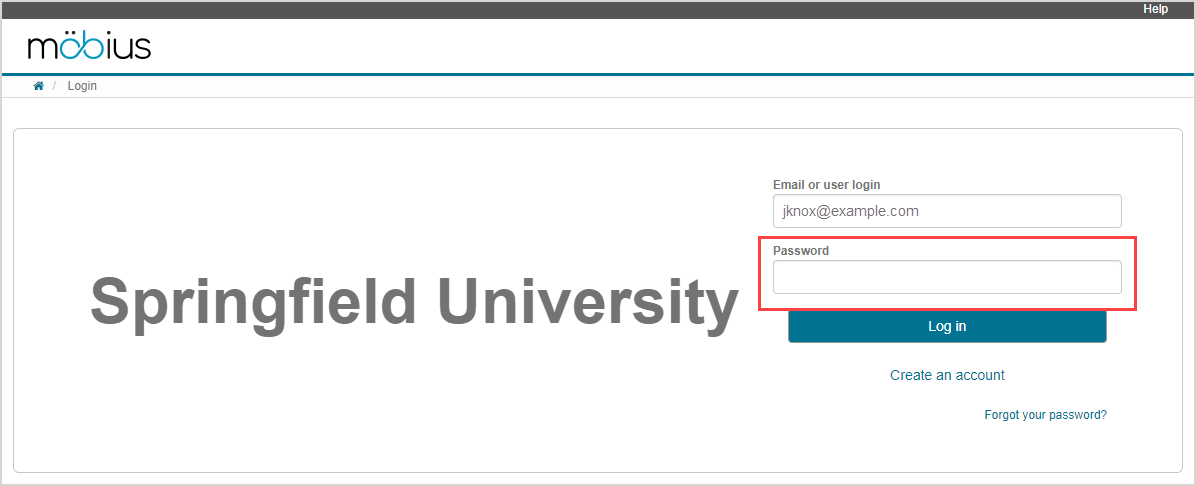
NOTE: If you've created your own Möbius account using self-registration as described in this help topic, you'll always use your email to log in. If you're Möbius account has been created for you, you'll be able to use your email or user login.
TIP: Check out Log in to learn about the different ways that you can log in to Möbius.
Click Log in.
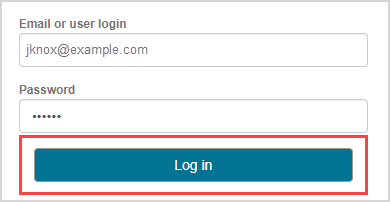
You're taken to the System Homepage of your organization.

TIP: Having trouble creating your Möbius account through self-registration? Check out Troubleshoot my registration.
What's next?
Now that you've created your Möbius account and have logged in, you're ready for: