Connect Möbius to Canvas
Jump to section
Configure an LTI 1.3 Key in Canvas
Add the Möbius App to a Canvas account
The Canvas™ Learning Management System can be connected to Möbius using LTI 1.3 integration.
IMPORTANT: Unlike previous LTI versions, an LTI 1.3 tool must be added to Canvas™ by an administrator, followed by being added to an account or course. Additionally, users who want to add an LTI Advantage tool to a course must have the LTI - add / edit / delete permission in Canvas™.
Möbius and Canvas™ administrators can follow these instructions to connect their Canvas™ Learning Management System to Möbius.
View my Möbius LTI data
Your Learning Management System will require you to provide data that's specific to your Möbius site.
Check out View my Möbius LTI data for details on how to obtain this data.
Configure an LTI 1.3 Key in Canvas
To add your Möbius site to the Developer Keys list in Canvas using the data from your Möbius site:
Log in to your Canvas administrator account and click Admin.

From the Admin menu, click Developer Keys.

Click Add Developer Key and select Add LTI Key from the drop-down menu.

Complete these fields on the Key Settings page:
- Key Name: Enter a unique name for the new key (Example — Möbius MyInstitution).
- Owner Email: Enter your valid email address.
- Redirect URIs: Enter the Redirect URI value attained from View my Möbius LTI data.
- Notes: An optional field to record any information that might be helpful in the future when referring to this LTI key.

Complete these fields under the Configure heading on the Key Setting page:
- Method: Select Manual Entry from the drop-down list.
- Title and Description: Enter the same Key Name and Notes as before.
- Target Link URI: Enter the Tool URL value attained from View my Möbius LTI data.
- OpenID Connect Initiation Url: Enter the Initiate Login URL value attained from View my Möbius LTI data.
- JWK Method: Select Public JWK URL from the drop-down list.
- Public JWK URL: Enter the Public JWK URL value attained from View my Möbius LTI data.
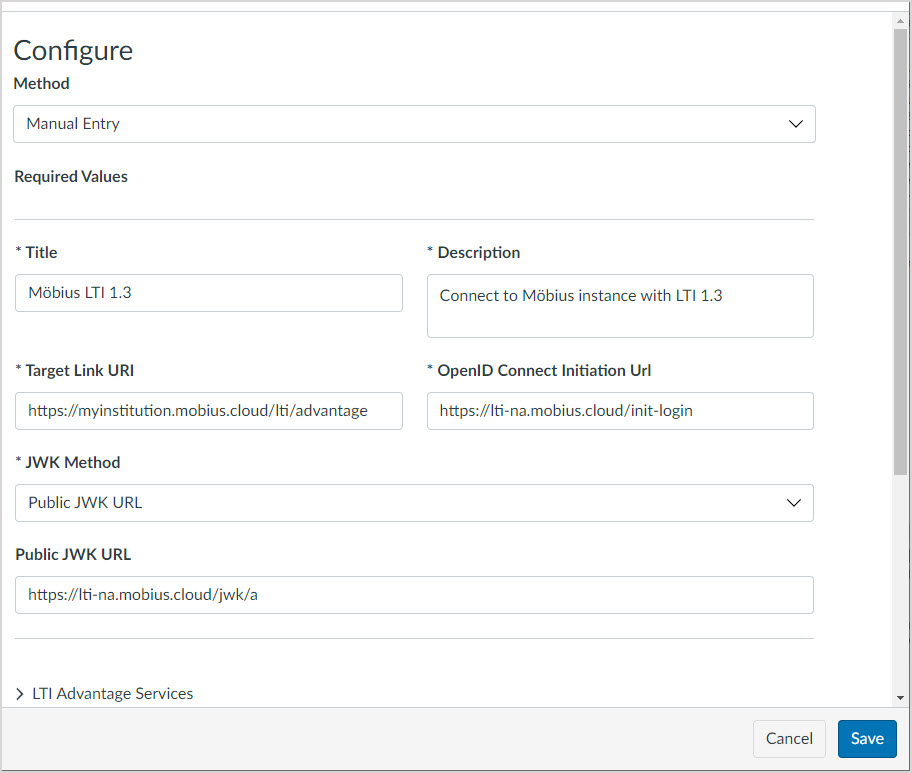
Expand the LTI Advantage Services section and enable the following options:
- Can create and view assignment data in the gradebook associated with the tool.
- Can view assignment data in the gradebook associated with the tool.
- Can view submission data for assignments associated with the tool.
- Can create and update submission results for assignments associated with the tool.

Expand the Additional Settings section and set the Privacy Level to PUBLIC.

- Account Navigation
- Link Selection
- Assignment Selection
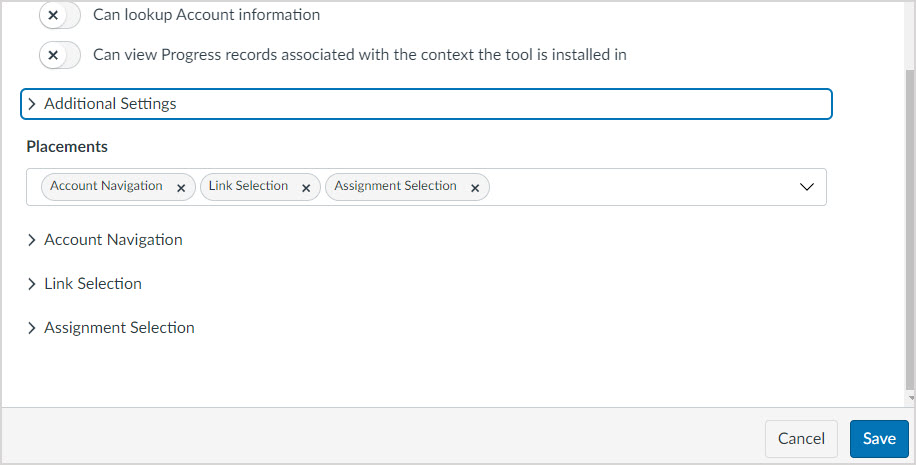
NOTE: When a placement is selected, an expandable link will appear listed below the Placements field.
TIP: The Account Navigation placement isn't required for assignment links or grade pushing. It controls the visibility of the Möbius tool in the Admin menu (for single sign-on for Canvas administrators).
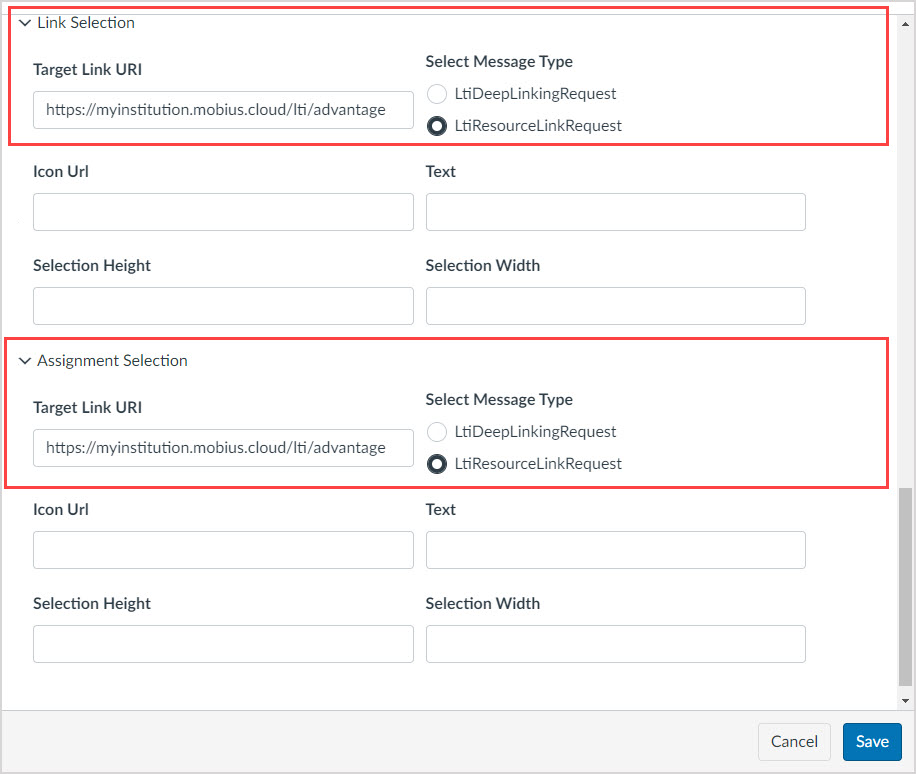
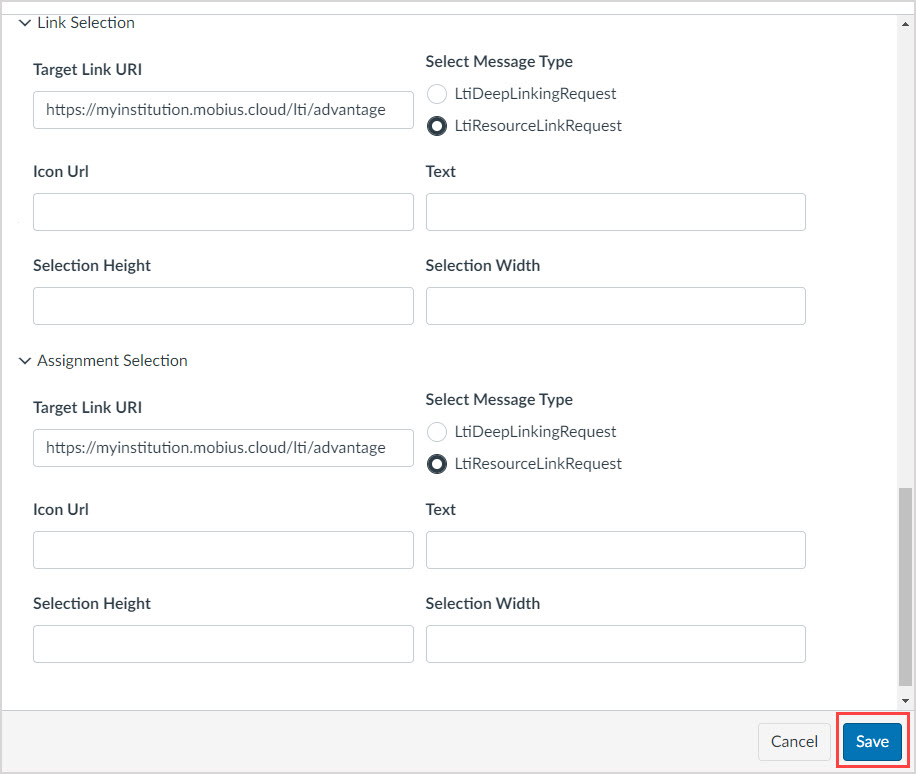
For each of the three placements selected from Step 8, expand the respective section and complete these fields:
- Target Link URI: Enter the Content Selection URL value attained from View my Möbius LTI data.
- Select Message Type: Select the LtiResourceLinkRequest radio button.
Click Save.
IMPORTANT: All LTI keys will automatically generate a Client ID which displays in the Details column. Copy this value for the next steps of the setup process.
Add the Möbius App to a Canvas account
In order to add the LTI links to your Canvas courses, the Key needs to be added to your Canvas account as an app.
IMPORTANT: To create links to Möbius your Canvas account must have access to use the same app configuration for all courses. For multiple Möbius LTI tools, the Canvas setup process must be run each time to obtain a separate Client ID and Deployment ID for each tool.
To add the LTI 1.3 app in Canvas:
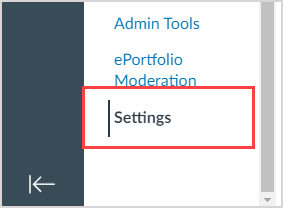
From the Canvas Admin menu, click Settings.
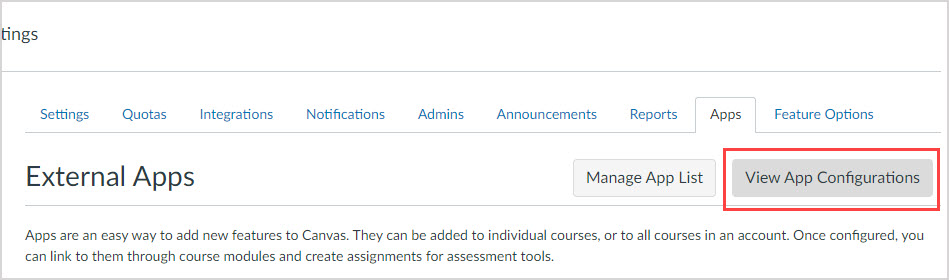
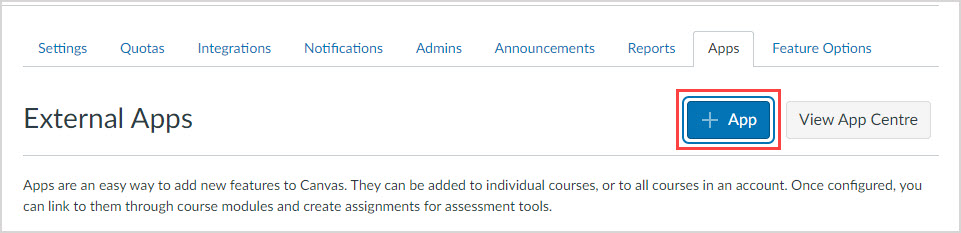
Under the Apps tab, click View App Configurations.
Click Add App.
Complete the following fields on the Add App page:
- Configuration Type: Select By Client ID from the drop-down menu.
- Client ID: Enter the Client ID attained in Step 11.
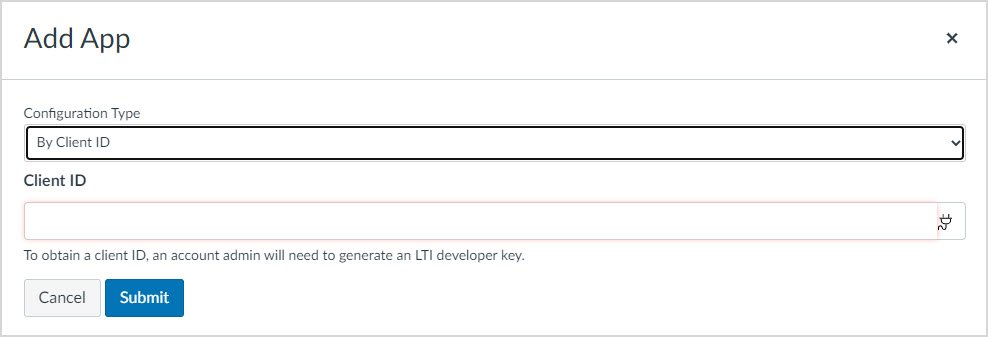
Click Submit and follow the Canvas instructions to finish installation of the app.
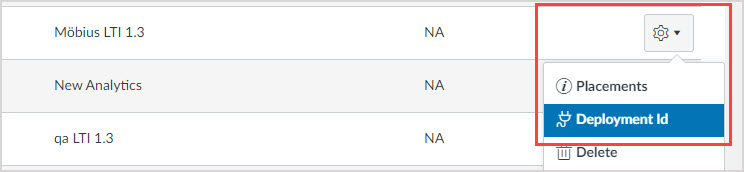
In the list of apps, click the gear icon next to the name of your new app and select Deployment ID. Copy this value for the next steps of the setup process.
Add the Canvas configuration to Möbius
To add the completed Canvas LTI 1.3 configuration details to Möbius:
Click Add Configuration on the Edit LTI Configurations page in Möbius.

TIP: Check out Add an LTI configuration to Möbius for more details on getting to this page in Möbius.
Complete the fields in the Add LTI 1.3 Configuration window:
- Platform ID:
- Deployment ID: Enter the Deployment ID value attained from Canvas in Step 16.
- Client ID: Enter the Client ID value attained from Canvas in Step 10.
- Public Keyset URL:
- Access Token URL:
- Authentication Request URL:
- Access Token Audience URL:
- Select the Access Token URL and Access Token Audience URL have the same value check box.
https://canvas.instructure.comIMPORTANT: This URL must not end with a backslash.
https://canvas.instructure.com/api/lti/security/jwkshttps://canvas.instructure.com/login/oauth2/tokenhttps://sso.canvaslms.com/api/lti/authorize_redirectIMPORTANT: On August 19th 2023, the LTI 1.3 OIDC endpoint for cloud Canvas installations will change from:
https://canvas.instructure.com/api/lti/authorize_redirecthttps://sso.canvaslms.com/api/lti/authorize_redirecthttps://canvas.instructure.com/login/oauth2/token
Click Save.

Link to a Möbius activity from your Canvas course
Once configured, the integration between Canvas and Möbius should be tested by linking from Canvas to a Möbius assignment, attempting the assignment as a student, and checking that grades are pushed back to Canvas.
IMPORTANT: Only one unique link can be created through the Modules section in your Canvas course. For grades to be pushed back to Canvas, you must create multiple links through the Assignments section as shown below.
To use the configured LTI App to add an activity link to your Canvas course:
Open your Canvas course that has access to the Möbius LTI App, and click Assignments.

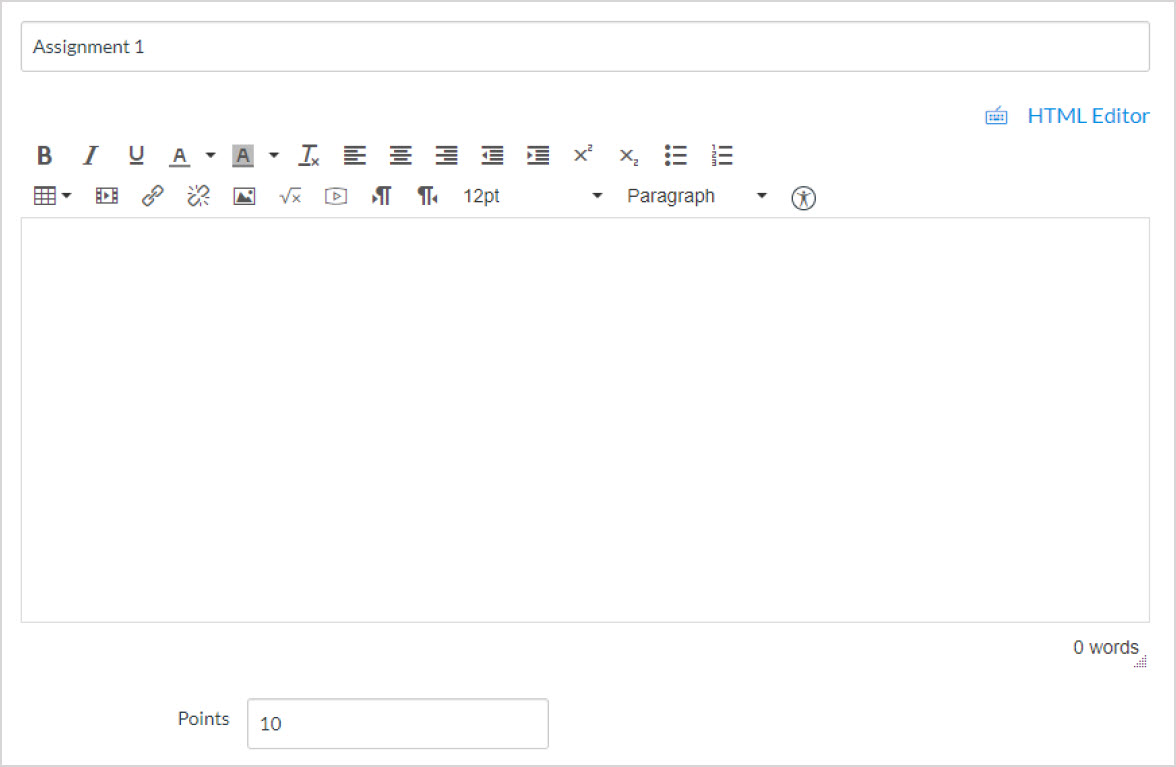
Click Add Assignment.

Fill in the Name, Points, and any other details required for the assignment.
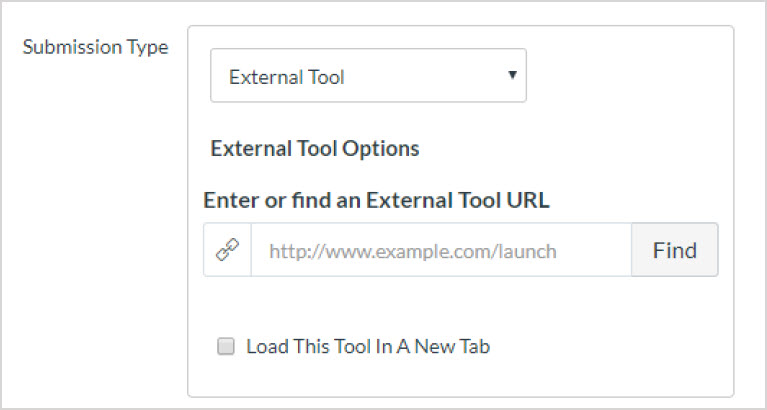
Complete the fields under the Submission Type heading:
- Submission Type: Select External Tool from the drop-down list.
- External Tool URL: Click Find and select the Möbius app.
- Select the Load This Tool In A New Tab check box.
Click Save & Publish.

The Möbius mapping menu will appear for configuration of the link destination—check out Activity mapping for details on completing this configuration and linking to a Möbius activity.

TIP: Check out the LMS Integration Workflows for a visual representation of creating and using different types of links from Möbius to Canvas:
What's next?
Now that you've connected Canvas to Möbius, you're ready for: