Manage the launch page
You can manage the presence of the launch page for an activity (lesson or assignment) using the activity's properties.
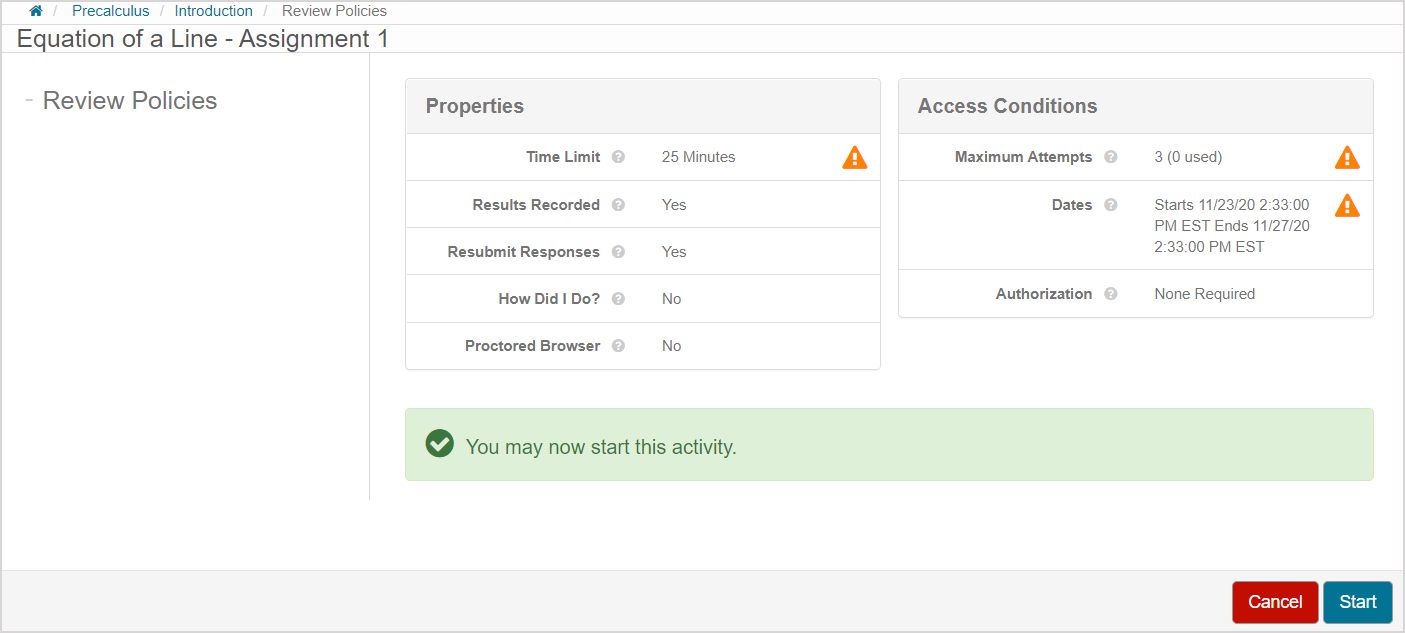
The launch page acts as a landing page when a student launches an activity to inform them of any important activity properties and access conditions relating to the activity.
The information on the launch page:
- Impacts a student's decision to begin their attempt.
- Example — If the launch page displays a time limit of 25 minutes but the student only has 10 minutes before another commitment, they can decide if they want to begin their attempt or delay their attempt to a later point in time.
- Indicates a student's eligibility to begin their attempt.
- Example — If the launch page displays that the student has already used up all of their available attempts at the activity, they'll be informed that they can't begin an additional attempt.
NOTE: A general summary of the information on the launch page is also visible for the activity on the student's Class Homepage.

Enable or disable the launch page
To enable or disable the launch page:
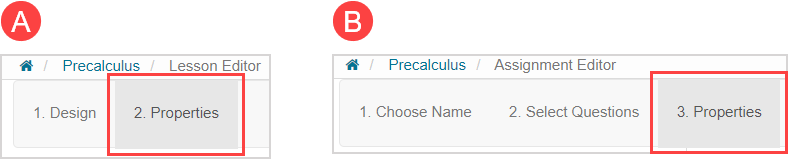
Navigate to the (A) 2. Properties tab of the Lesson Editor for your lesson or the (B) 3. Properties tab of the Assignment Editor for your assignment.
TIP: Check out Define lesson properties or Define assignment properties for reminders of how to access activity properties from within the Activity Editors.
Navigate to the General Properties section of the activity’s properties.
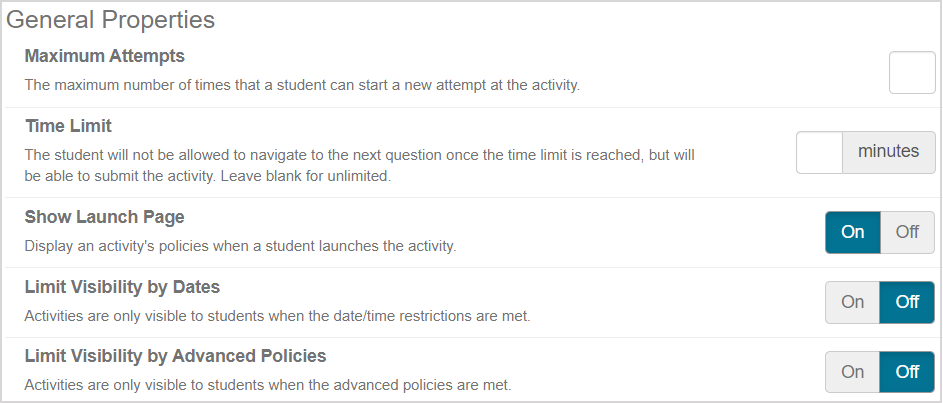
Select whether you want the Show Launch Page property enabled (On) or disabled (Off).

NOTE: The Show Launch Page property is enabled (On) by default.
NOTE: Enabling the following activity properties require the launch page to also be enabled:
- Advanced Policies
- Maximum Attempts
- Proctor Sign-in to Start (for a proctored exam)
- Require Proctored Browser (for a proctored exam)
NOTE: If defining a limiting maximum attempts value from your Learning Management System (LMS) (Example — Blackboard®, Brightspace®, Canvas™, Moodle™, etc.), this will automatically enable the launch page even if it's disabled from inside of Möbius. Check out Define maximum attempts through an LMS.
Continue editing your activity as needed.
Information on the launch page
The following information is displayed to students when the launch page is enabled:
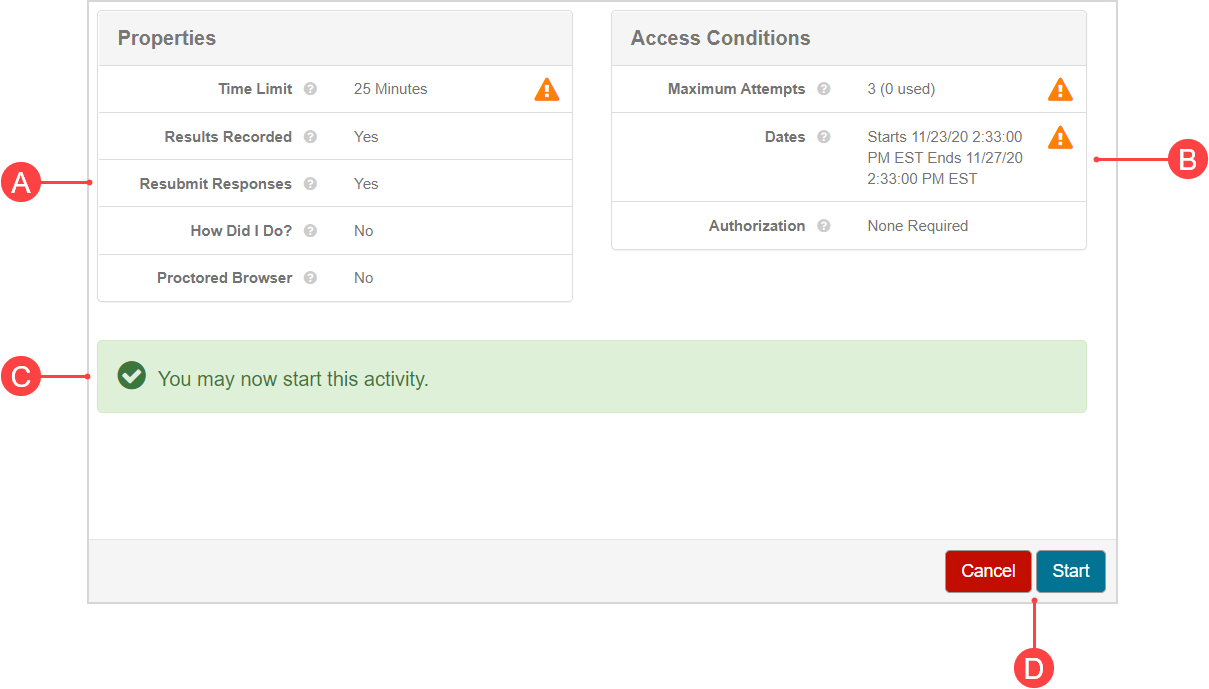
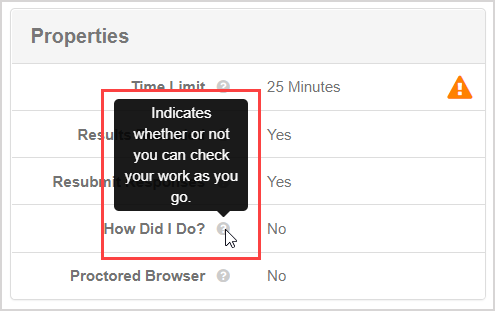
A. Properties — Displays specific activity properties that can impact a student's decision to begin their attempt:
- Time Limit — Indicates the maximum amount of time allowed for the attempt (defined using the Time Limit property).
- Results Recorded — Indicates if the attempt's grade will be recorded in the Gradebook (defined based on the selected activity type).
- Resubmit Responses — Indicates if the student is permitted to return to previously answered questions to re-enter a response (defined using the Allow Resubmit property).
- How Did I Do? — Indicates if the student can check their responses during their attempt (defined using the How Did I Do? property).
- Proctored Browser — Indicates if the activity is an assignment with Proctored Browser Mode enabled (defined if the activity is a proctored exam).
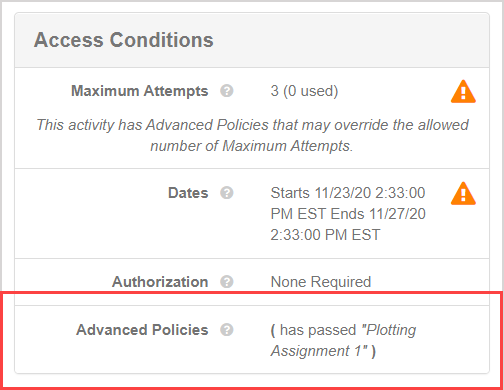
B. Access Conditions — Displays specific activity properties that can impact a student's eligibility to begin their attempt:
- Maximum Attempts — Indicates the maximum number of attempts that can be launched at the activity (defined using the Maximum Attempts property).
- Dates — Indicates if a start date and/or end date has been defined for the activity (defined using the Scheduling & Visibility properties).
- Authorization — Indicates if any type of proctor authorization is required to launch and/or submit the attempt (defined if the activity is a proctored exam).
C. Attempt Eligibility — Indicates if the student is eligible to launch their attempt based on B.
D. Attempt Controls — Buttons to allow the student to start or cancel their attempt.
TIP: Check out Define lesson properties or Define assignment properties for help with defining specific activity properties.
NOTE: A summary of the activity's Advanced Policies will be displayed in the (B) Access Conditions section if Advanced Policies have been defined for the activity.
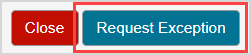
NOTE: The (C) Attempt Eligibility section will display an ineligibility message if certain components from the (B) Access Conditions aren't satisfied (Example — the student has no more remaining attempts) or the Advanced Policies (if defined) haven't been met.

The student can then click Request Exception which is in place of the Start button within the (D) Attempt Controls to request an exception for their ineligibility at the activity (and Close replaces Cancel).
NOTE: The student can hover their cursor over the More Information icon for an explanation of each displayed property on the launch page.
NOTE: A student's attempt isn't counted if they've viewed the launch page and then clicked Cancel to cancel their attempt.
NOTE: An additional External Launch Details table will be displayed on the launch page if the student is accessing the Möbius activity through a Learning Management System (LMS) (Example — Blackboard®, Brightspace®, Canvas™, Moodle™, etc.):

A.External Launch — Indicates that the attempt is being launched from an LMS instead of directly through Möbius.
B.Results Sync — Indicates if the student's grade on this externally-launched activity will be pushed through to the LMS gradebook.