Author feedback
Jump to section
You can author feedback that can be applied to:
- An entire question
- A specific response to a question
TIP: Response-level feedback is recommended when your question is authored with more than one student response component.
Authoring or editing feedback can be performed at anytime while working with questions (Example — you can import a question from your Content Repository into an assignment and author feedback for that question from within the Assignment Editor).
Feedback could be comments such as:
- Tips
- Notes
- Full solutions
You can control the scenarios of when feedback is made visible to your students through different activity properties.
TIP: Feedback can also include algorithmic variables generated for the question! Check out Use the algorithmic variable.
Control feedback with activity properties
The following sample scenarios of enabled activity properties (indicated by X) can help you to understand how different activity properties can affect what feedback (if authored) the student sees:
| How Did I Do?* | Show Question Feedback* | Show Question Feedback** | Restrict Feedback Until*** | What the student sees |
|---|---|---|---|---|
| X |
| |||
| X | X |
| ||
| X | X | X |
| |
| X | X | X | X |
|
| X |
| |||
| X | X |
|
* This is a Feedback (During) property
** This is a Feedback (After) property
*** This is a Scheduling & Visibility property
IMPORTANT: Enabling How Did I Do? and Show Question Feedback provide correctness indicators and feedback to students while they're attempting an activity. After seeing this information, students have the opportunity to change their responses to the questions. You should only enable these properties if you want your students to have the equivalent of a solution manual available while they're working their activities.
NOTE: Response-level feedback is only visible to a student during their attempt if How Did I Do? and Show Question Feedback (Feedback (During)) are enabled.
TIP: Check out Define assignment properties and Define lesson properties to learn more about these settings.
Author question feedback
Question feedback applies to an entire question and, depending on your activity properties, can be made visible to a student when they:
- Click How Did I Do? during an activity attempt
- Click View Details after submitting their attempt
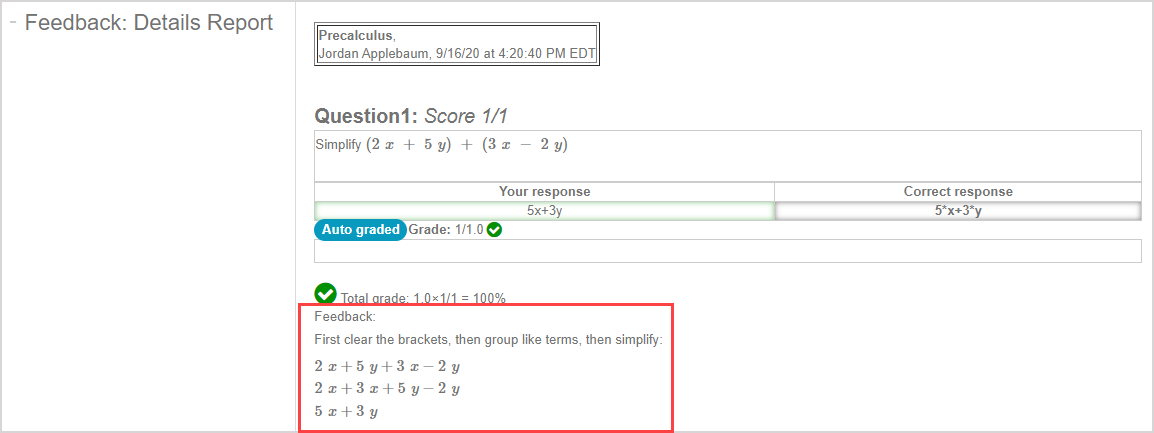
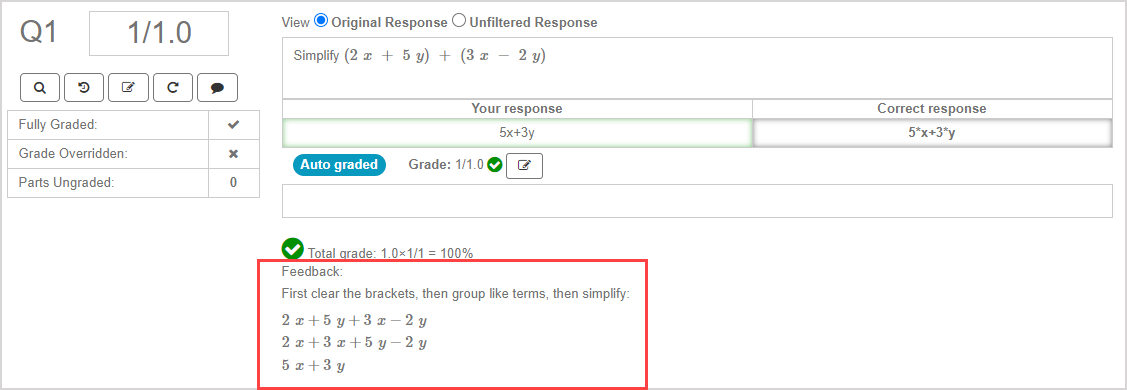
- View their graded attempt in the Gradebook
To author question feedback:
Navigate to the question that you want to add feedback to.
NOTE: Feedback can be authored from an Activity Editor (where the specific question is in use) or the Question Editor while authoring a new question or editing an existing question.
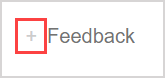
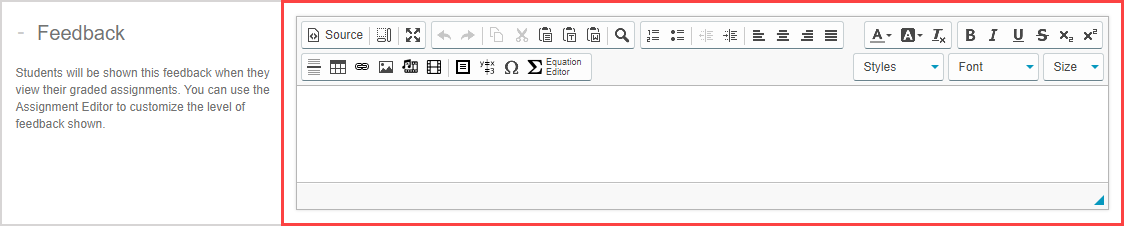
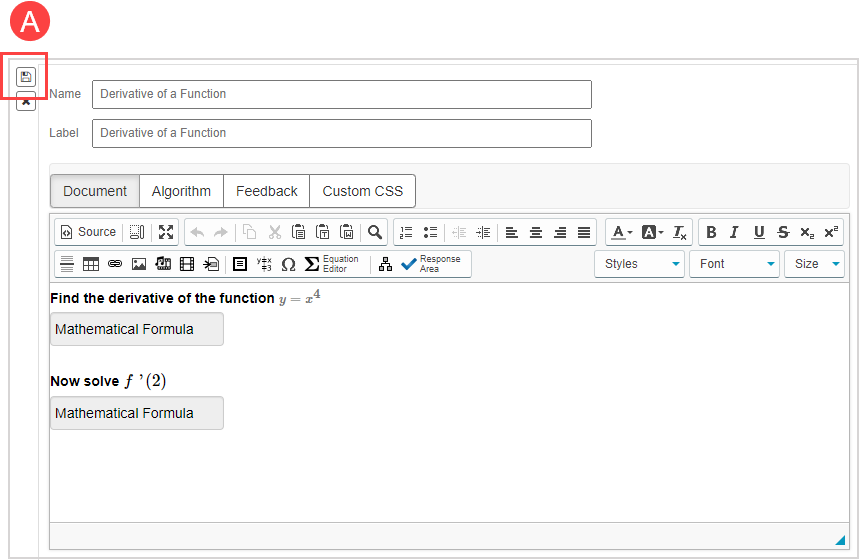
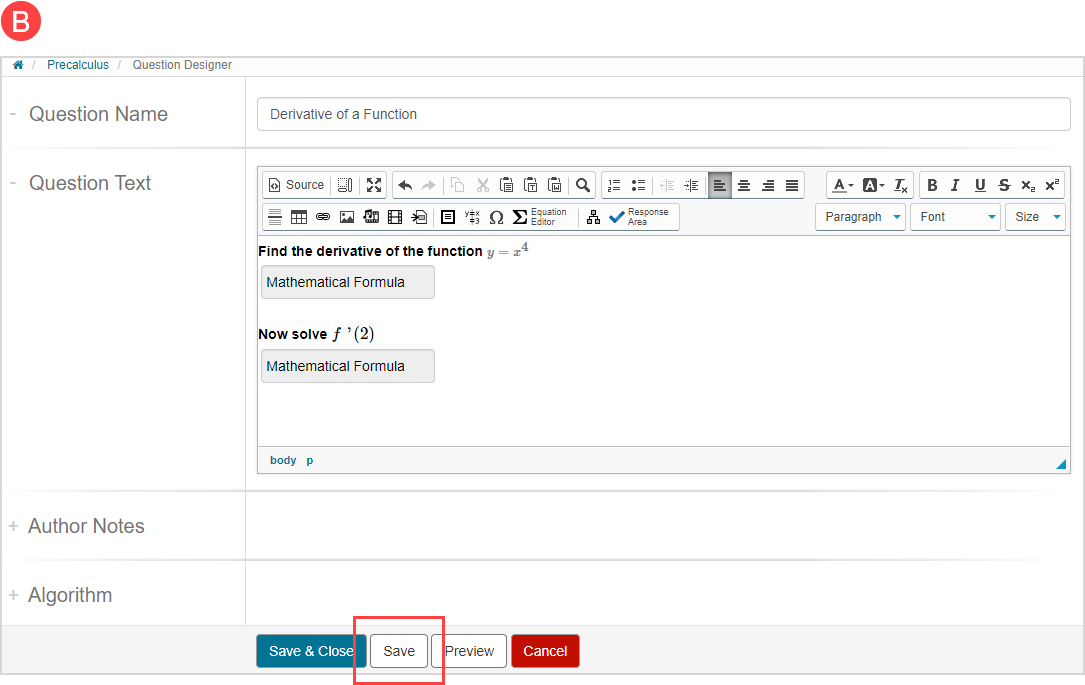
Navigate to the (A) Feedback tab of an Activity Editor or (B) Feedback pane of the Question Editor for the question you want to apply feedback to.

.png)
TIP: Click the expand icon to view the (B) Feedback pane.
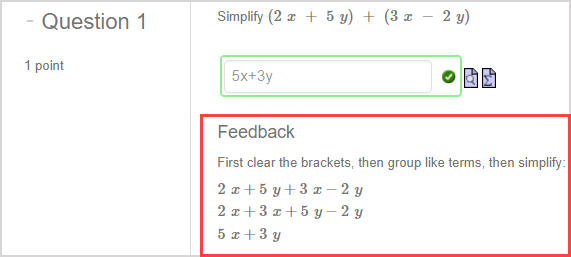
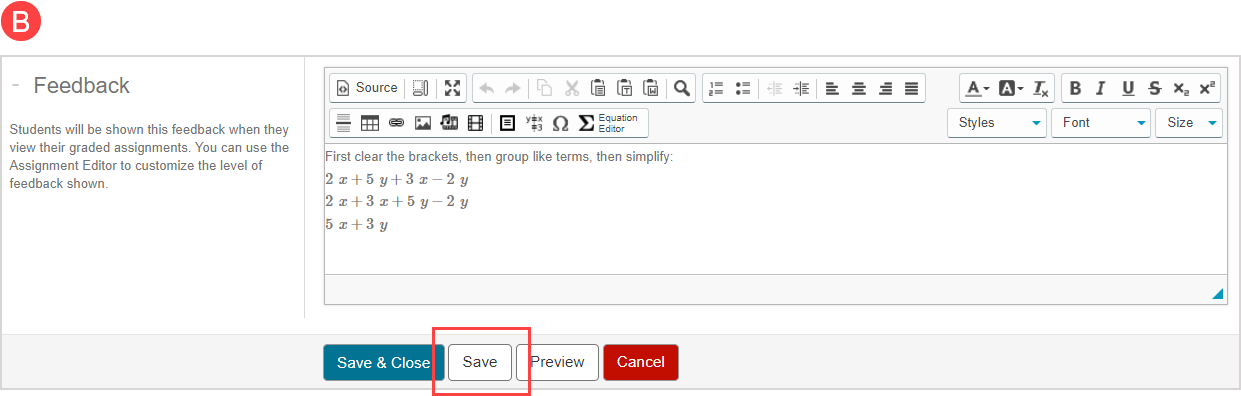
Define your question feedback in the Feedback text field of the chosen editor.
TIP: Check out Use the Visual Editor for details on how to use this toolbar to the fullest to control the visual appearance of your question feedback.

TIP: If you want to edit your existing question feedback, make your edits at this step and continue to step 4.
TIP: If you want to delete your existing question feedback, select the content within the Feedback text field and press Delete on your keyboard (and continue to step 4).
Click (A) the save icon
 in an Activity Editor or (B) Save in the Question Editor.

Your question feedback is now available wherever the question is in use (and its visibility can be controlled using Define assignment properties and Define lesson properties).
Author response-level feedback
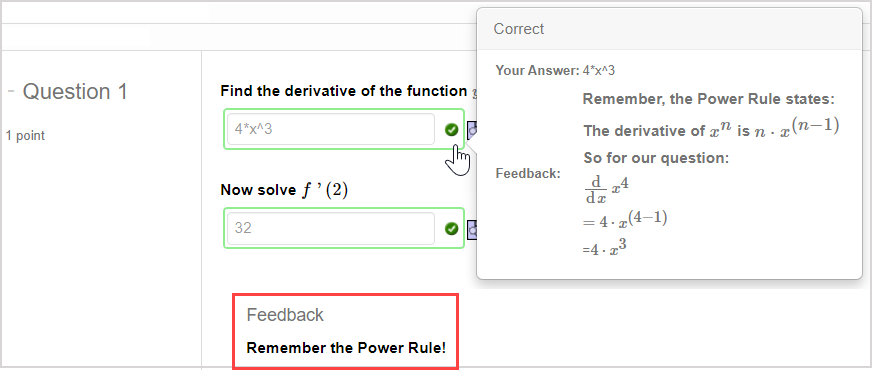
Response-level feedback applies to a specific student response component within a question and, depending on your activity properties, can be made visible to a student when they click How Did I Do?.
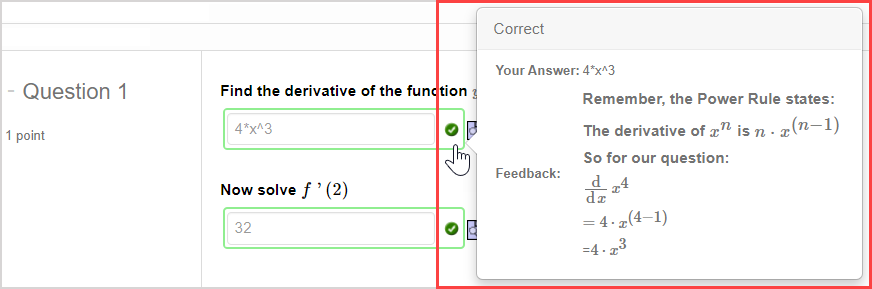
NOTE: Question feedback (if authored) will be visible at the same time as response-level feedback.
To author response-level feedback:
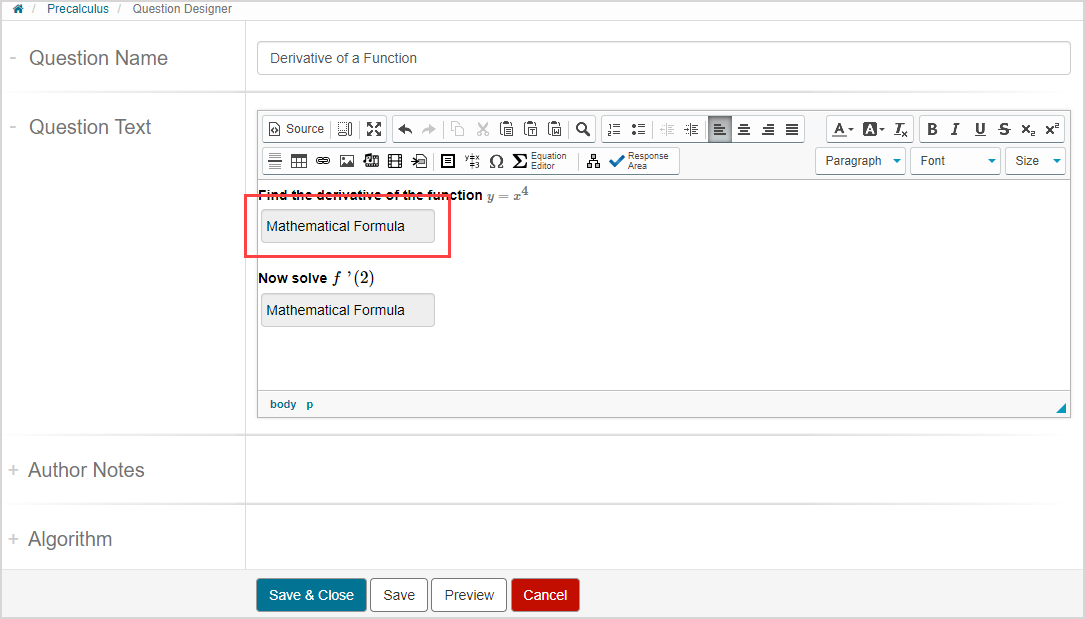
Navigate to the question that you want to add the feedback to.
NOTE: Feedback can be authored from an Activity Editor (where the specific question is in use) or the Question Editor while authoring a new question or editing an existing question.
Double-click on the specific student response component where you want to apply feedback.
Click the Feedback tab of the Edit Möbius component window.
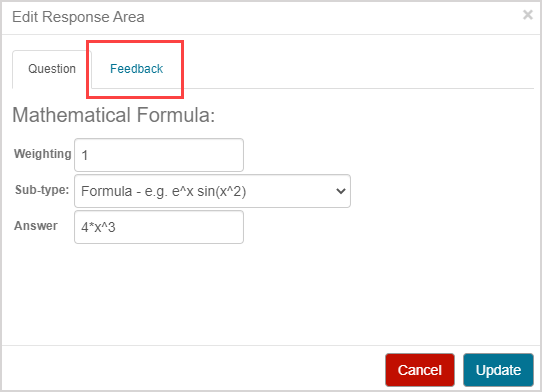
Define your response-level feedback in the Feedback text field.
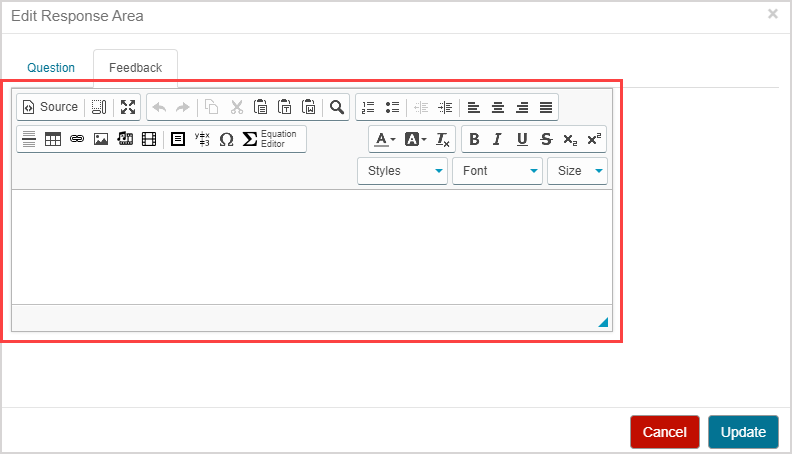
TIP: Check out Use the Visual Editor for details on how to use this toolbar to the fullest to control the visual appearance of your feedback.

TIP: If you want to edit your existing response-level feedback, make your edits at this step and continue to step 5.
TIP: If you want to delete your existing response-level feedback, select the content within the Feedback text field and press Delete on your keyboard (and continue to step 5).
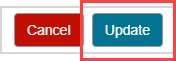
Click Update to associated this specific feedback with the selected student response component.
TIP: Alternatively, you'll click Insert if you're authoring feedback for a new question.

Click (A) the save icon
in an Activity Editor or (B) Save in the Question Editor.
Your response-level feedback is now available wherever the question is in use (and its visibility can be controlled using Define assignment properties and Define lesson properties).