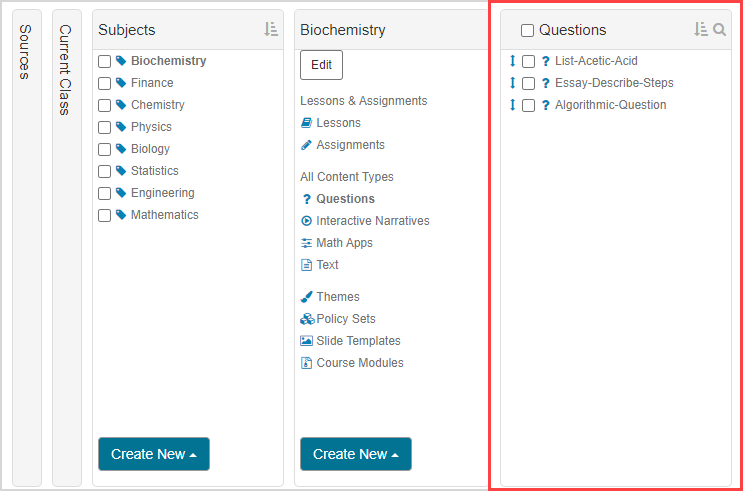
Work with subjects
Subjects are used to categorize your content within your Content Repository into groupings based on their educational discipline.
NOTE: This help topic covers the main tasks when working with subjects:
- Creating a subject
- Associating content with a subject
- Locating content using a subject
Check out Work with additional tasks for subjects for instructions on:
- Editing a subject name
- Removing content from a subject
- Deleting a subject
- Cloning a subject
- Exporting a subject
NOTE: Subjects are considered a type of container in the Content Repository.
Associating content with a subject allows you to then easily locate a specific piece of content by searching for it based on its subject.
You can associate any type of content or supplementary content with a subject within your Content Repository.
Content — Any component relating to the subject matter of a class (Example — Questions, Text, Lessons, Assignments, Interactive Narratives, Units, etc.).
Supplementary content — Components that support the creation, structure, and implementation of content. Example — Themes, Policy Sets, Slide Templates, Course Modules.
NOTE: Working with subjects in a child class? You'll first need to clone inherited content into your class before you can interact with its subjects. Check out Clone content.
IMPORTANT: Changes that you make to a subject (Example — creating a subject, editing a subject name, etc.) will affect the subjects within your Content Repository as well as the Content Repositories of all other users across your Möbius site (Example — if you've created a new subject, all other users with access to a Content Repository within your organization will be able to interact with your subject in their class).
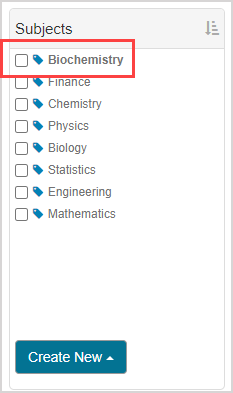
NOTE: These are the default subjects that are pre-loaded in the Content Repository:
- Finance
- Chemistry
- Physics
- Biology
- Statistics
- Engineering
- Mathematics
Your Content Repository may have more, less, or different subjects depending on changes that other users across your organization have made.
Create a subject
To create a new subject:
NOTE: Subjects can only be created from the Current Class source of your Content Repository.
Navigate to the Subjects pane of the Current Class source in your Content Repository.
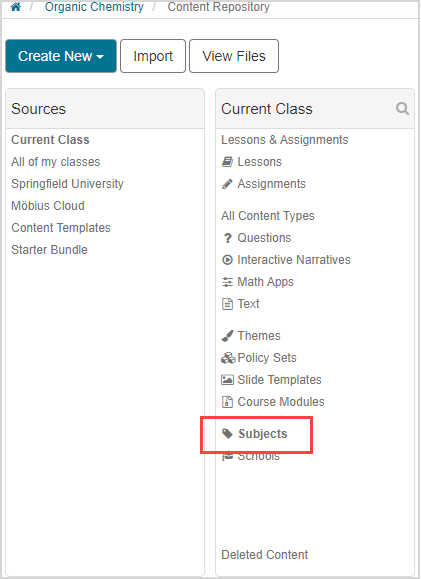
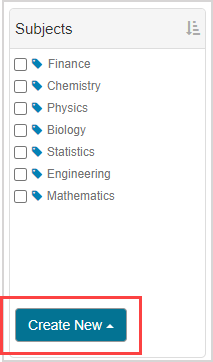
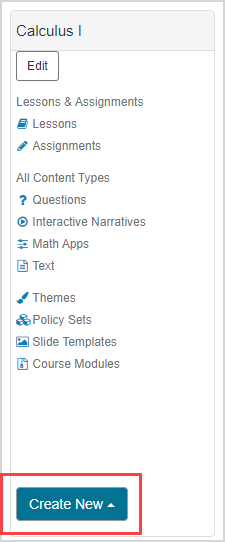
Click Create New in the Subjects pane.
TIP: Subjects can contain child subjects. If you want to create a child subject that's nested within a parent subject:
Navigate into a selected subject until you reach the subject that you want to add a child subject to (Example — the Calculus I subject is nested within the Calculus subject, which is nested in the Mathematics subject).
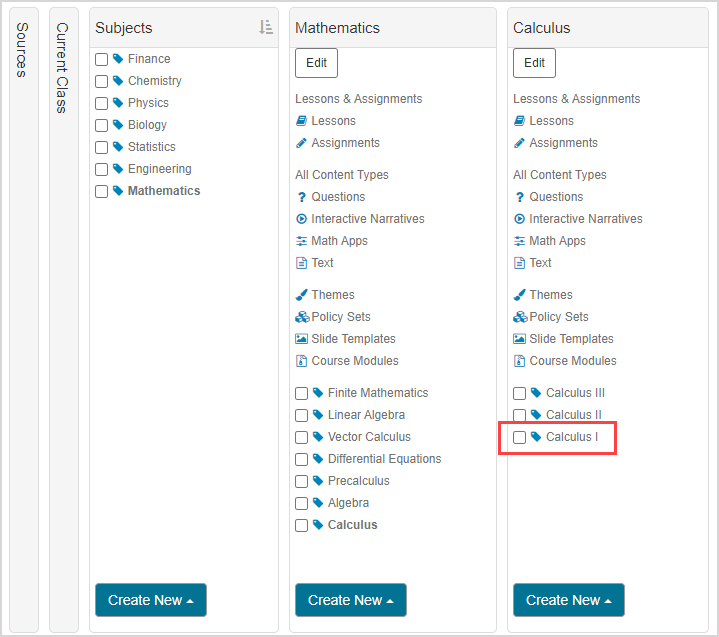
Click Create New once you've reached the subject that you want to add a child subject to.
Resume at step 3 of Create a subject
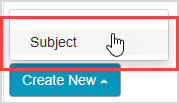
Click Subject.
Define the name of the new subject .

Click Add Subject.

Your new subject is added to the list of available subjects to your Content Repository and all other Content Repositories in your organization.
Associate content with a subject
Content can be associated with one or more subjects:
- Individually
- In bulk
Once content is associated with a subject, you'll then be able to easily locate content within your Content Repository that's grouped based on the subject(s) it's tagged with.
Associate individual pieces of content with a subject
To associate an individual piece of content with a subject:
NOTE: These steps can't be applied to:
- Themes
- Policy Sets
- Course Modules as a whole (works for pieces of content within a Course Module)
Check out the Associate content with a subject in bulk subsection of this help topic to associate these types of content with a subject.
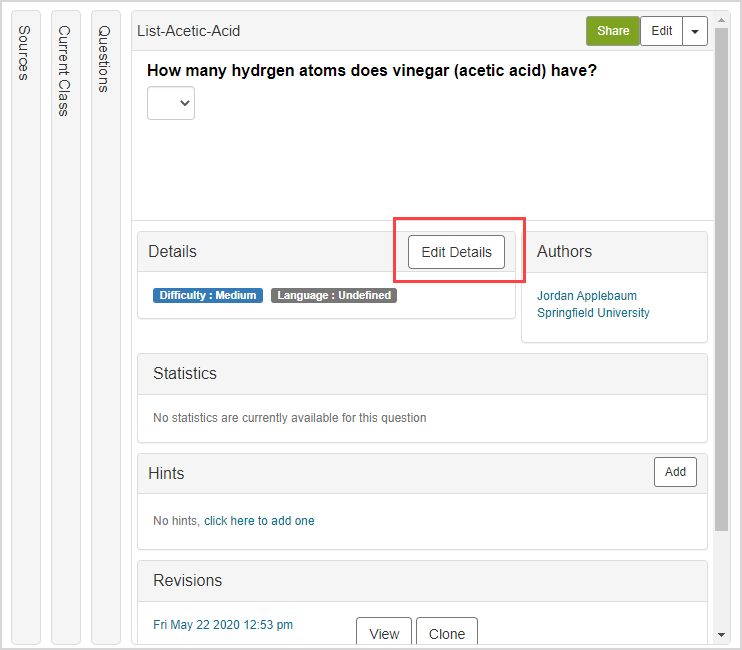
Navigate to the Content Summary pane of the piece of content that you want to associate with a subject and click Edit Details.
Select the check box of the subject in the Subjects section that you want the piece of content associated with.
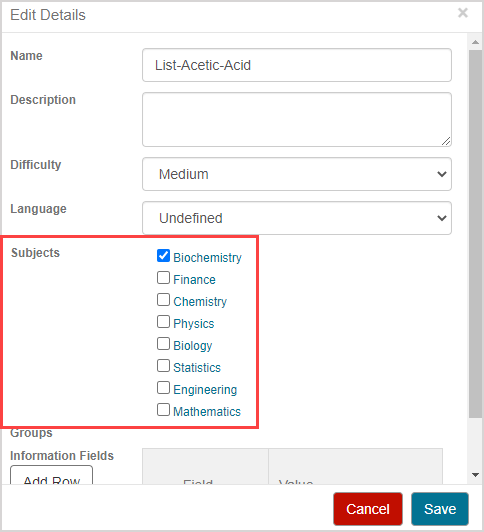
TIP: You can select more than one subject check box.
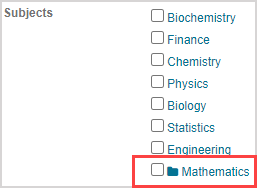
TIP: Click the folder![]() icon of a subject to view its nested child subjects.
icon of a subject to view its nested child subjects.
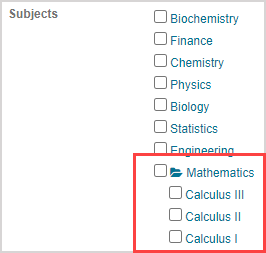
The child subjects are then displayed.
Click Save.

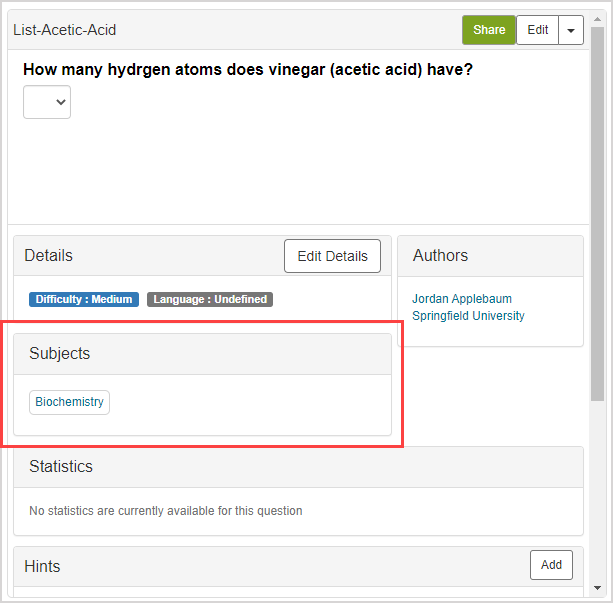
The applied subject appears listed in the Content Summary pane's Subjects section, and the piece of content is now associated with that subject.
Associate content with a subject in bulk
To associate content with a subject in bulk:
Navigate to the content or supplementary content pane that contains the content that you want to associate with a subject.
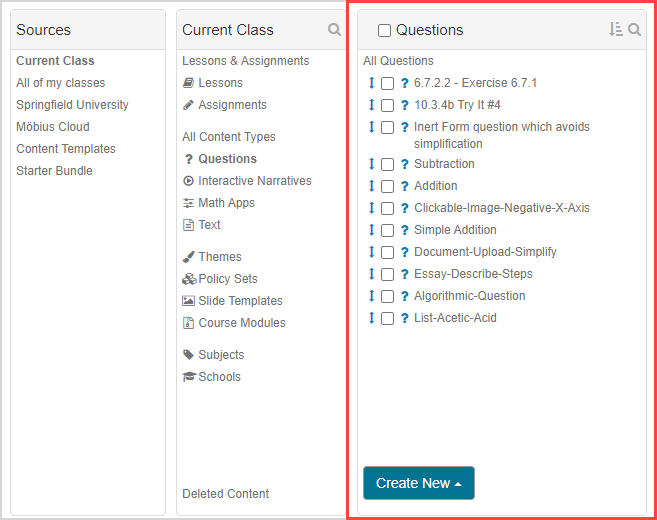
Select the check boxes of all of the content that you want to associate with a subject.
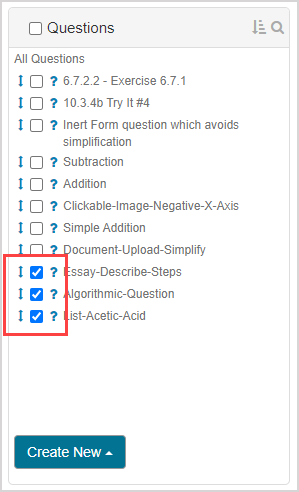
Click Add to from the bulk functions bar.

Click Subjects from the Containers pane in the Add to window.
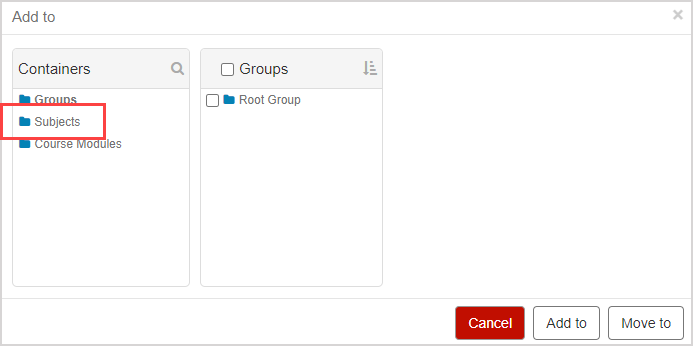
TIP: The Move to function is used to relocate content to a different subject. Check out the Remove content from a subject in bulk subsection of the Work with additional tasks for subjects help topic. Alternatively, check out Relocate content to learn more about the differences between the Add to and Move to functions of the bulk functions bar.
Select the check box(es) of the subject(s) that you want the content associated with that you selected in step 2.
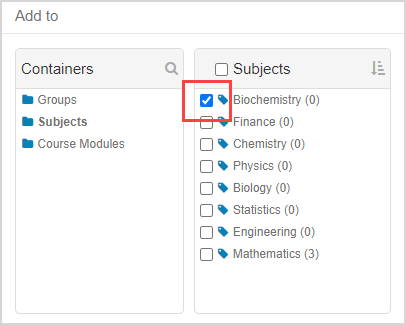
TIP: The number in parentheses beside the subject represents the number of nested child subjects (Example — Mathematics has three nested child subjects).
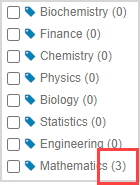
Click on the subject name to reveal the nested child subjects.
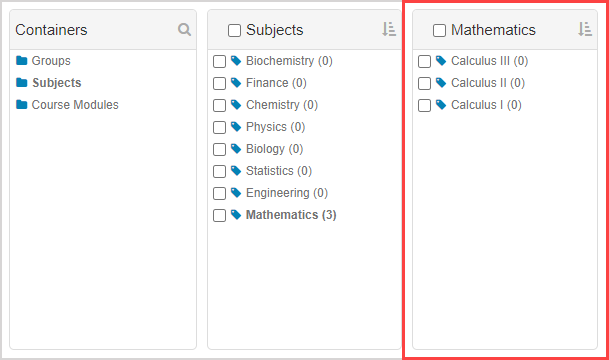
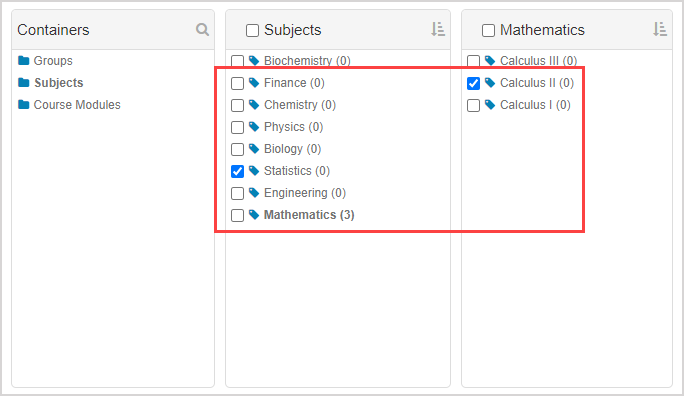
You can select both parent and child subjects from the Add to window.
Click Add to.

The selected content is then associated with the selected subject(s). Click a listed subject to view the content that's now associated with the subject.

TIP: Alternatively, click Done to return to the Content Repository where you originally selected the content from.

Locate content by a subject
To locate content within your Content Repository by using a subject that it's associated with:
Navigate to the subject (or child subject ) of interest from the Subjects pane.
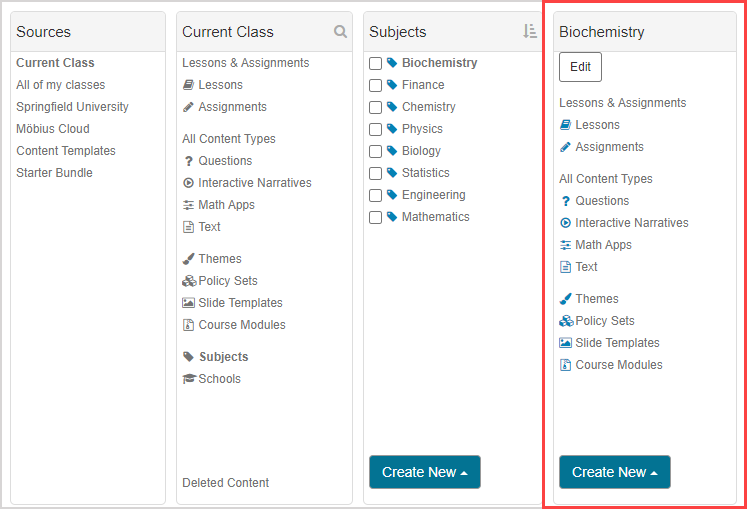
Within the subject's pane, navigate to the content type of interest to view all pieces of content with the selected subject applied.
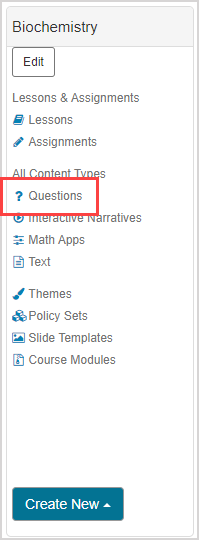
All content of the selected content type that's associated with the selected subject is listed.
